Images and Video Generation
This section covers image generation basics and advanced video motion workflows.
Generating Images (The Basics)
Heyo leverages cutting-edge AI models including NB Pro, Gemini 2.5, and Flux to transform your text descriptions into stunning, high-quality visuals.
Generating a Single Shot
Follow these steps to create your first image.
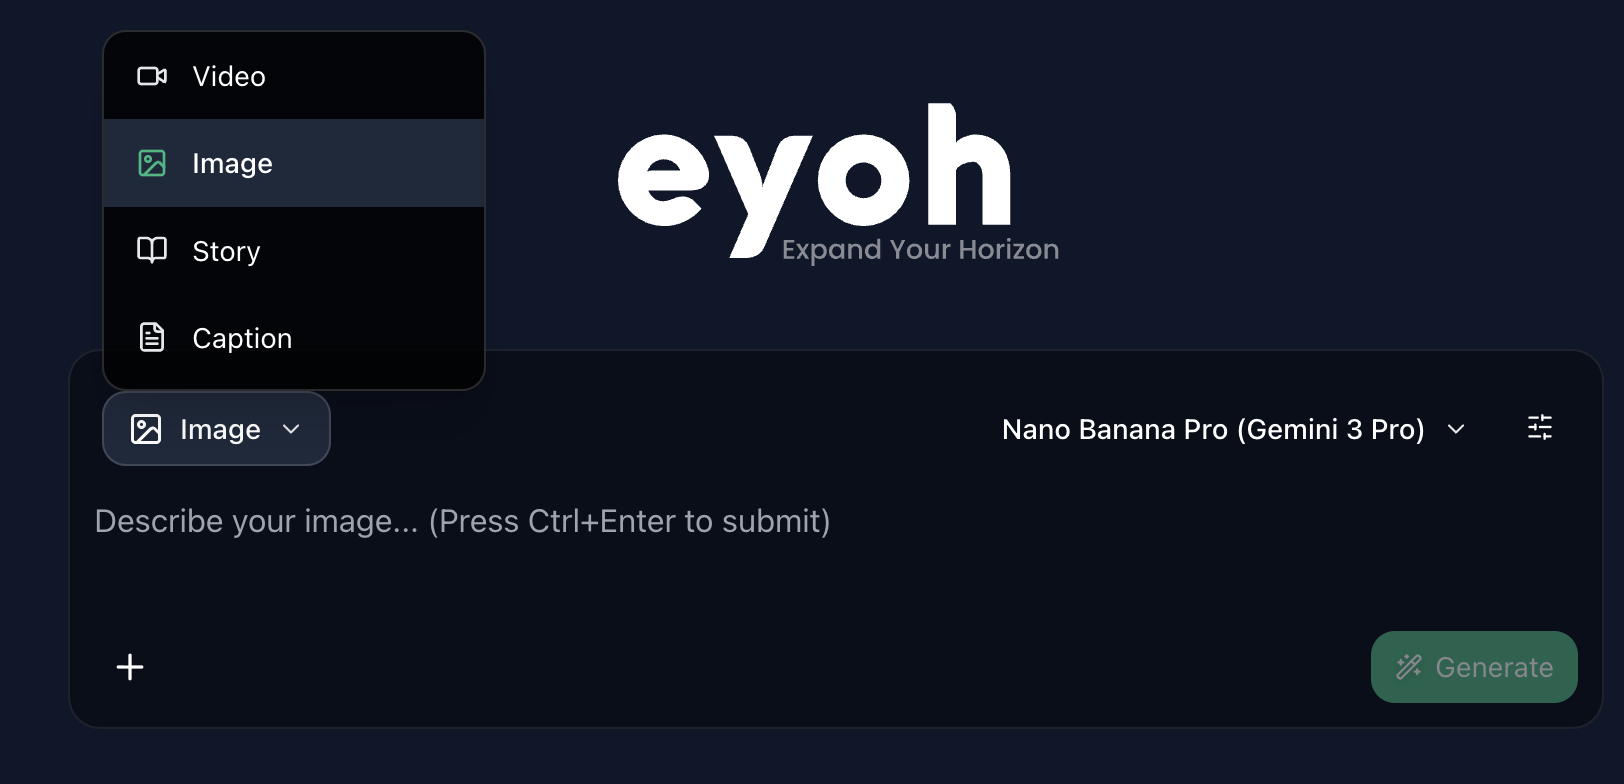
Step 1: Select Image Mode
Locate the main prompt box on your screen. Ensure the mode dropdown menu is set to Image.
Step 2: Enter Your Vision
In the prompt bar, describe the image you want to create.
Example:
A futuristic city at dusk with neon lights
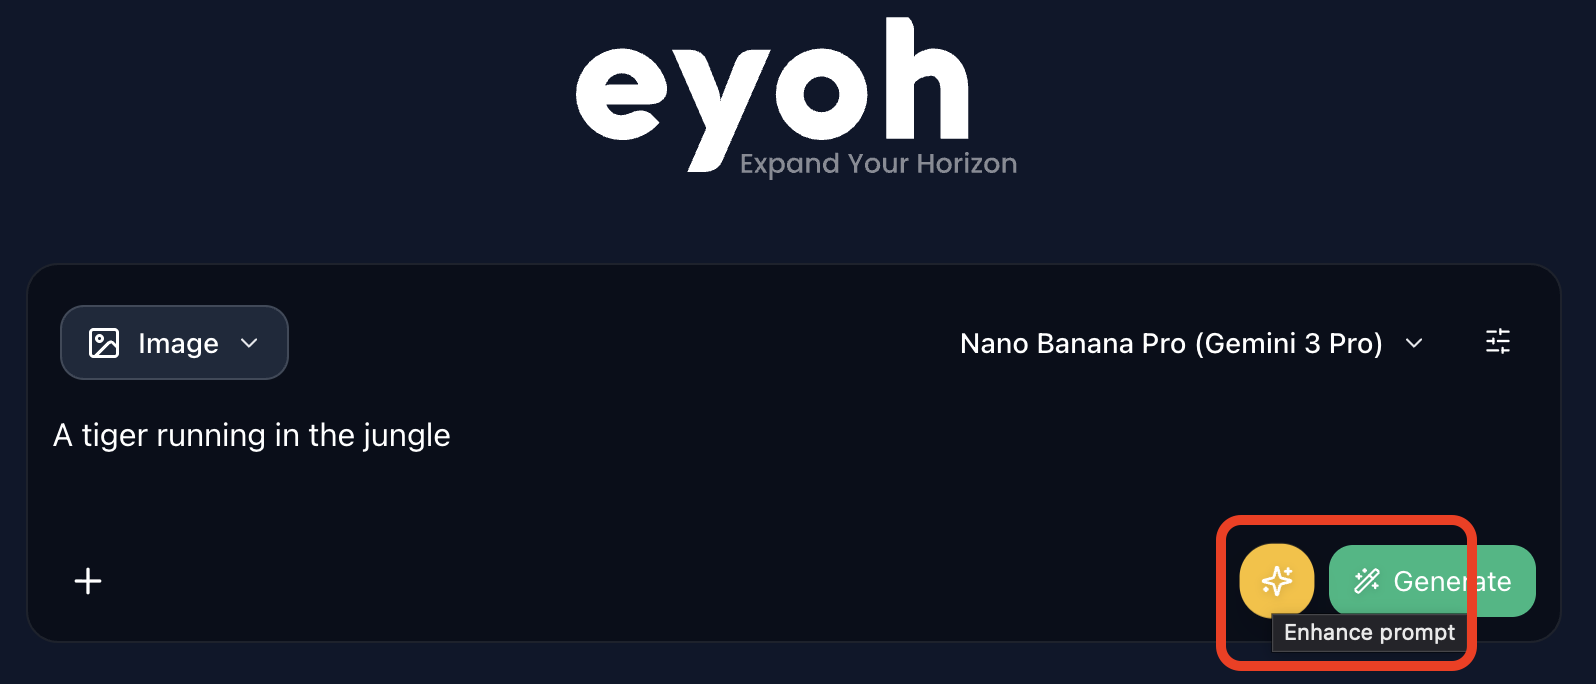
Prompt Enhance (Optional)
Heyo Prompt Enhance Button
Not sure how to add detail? Write a simple concept (e.g., “a futuristic city”) and click the Heyo Prompt Enhance button.
The system will automatically upgrade your words into a rich, detailed prompt for better results.
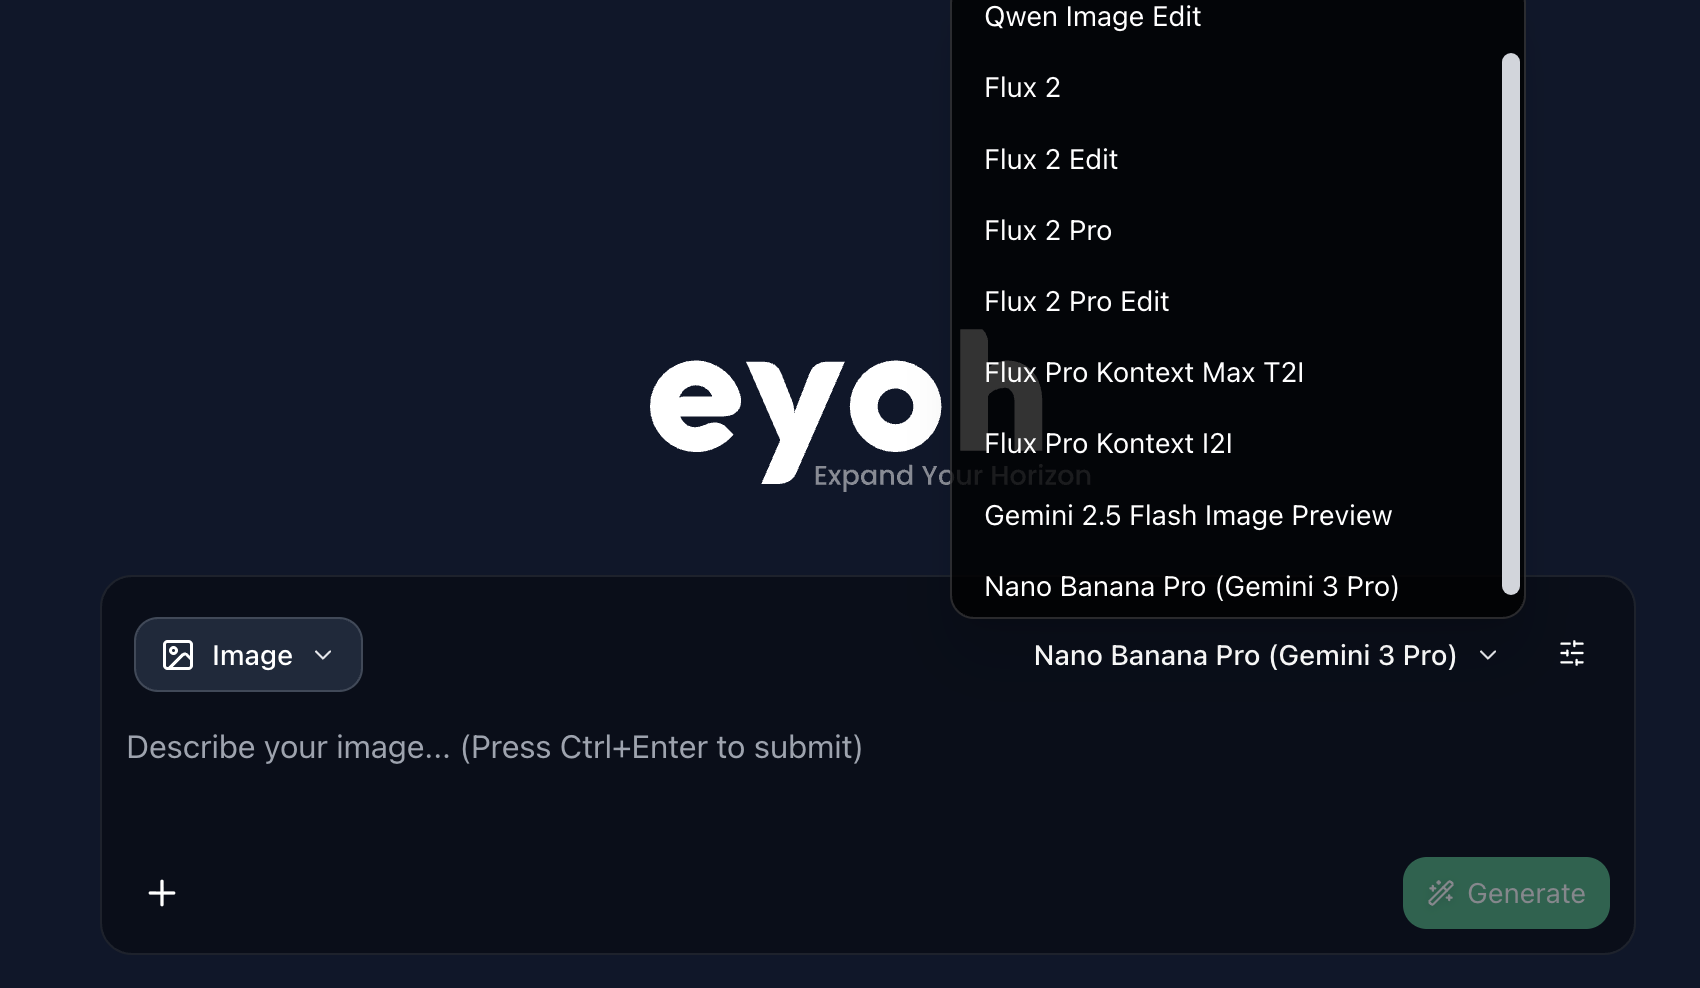
Step 3: Choose Your Model
Select your preferred AI model from the dropdown menu.
(Default: NB Pro, known for versatile, high-quality results)
Step 4: Generate
Click the Generate button and watch your concept come to life.
Video & Motion (The Magic)
Turn static ideas into moving animatics using our powerful Video Engine, driven by industry-leading models like Veo, Wan, and Kling.
Text-to-Video (T2V)
Create brand new video clips entirely from text descriptions.
Steps:
-
Switch to Video Mode
Navigate to the prompt box and switch the mode toggle from Image to Video. -
Describe the Action
Enter a prompt that describes both the scene and the movement.Example:
A classic car drifting around a rainy corner, smoke rising from the tires.
-
Prompt Enhance (Optional)
Just like with images, use Heyo Prompt Enhance to automatically add dynamic motion details. -
Select Video Model
Choose a specialized video model from the dropdown list
(e.g., Veo, Wan, or Kling). -
Generate
Click Generate to create your motion clip.

Image-to-Video (I2V)
Best for consistency.
Take an image you have already created or uploaded and breathe life into it with motion.
Steps:
-
Verify Video Mode
Ensure your prompt box is currently set to Video. -
Select an I2V-Compatible Model
Choose a model that supports Image-to-Video
(e.g., Veo 3.1 Preview, Kling I2V, etc.). -
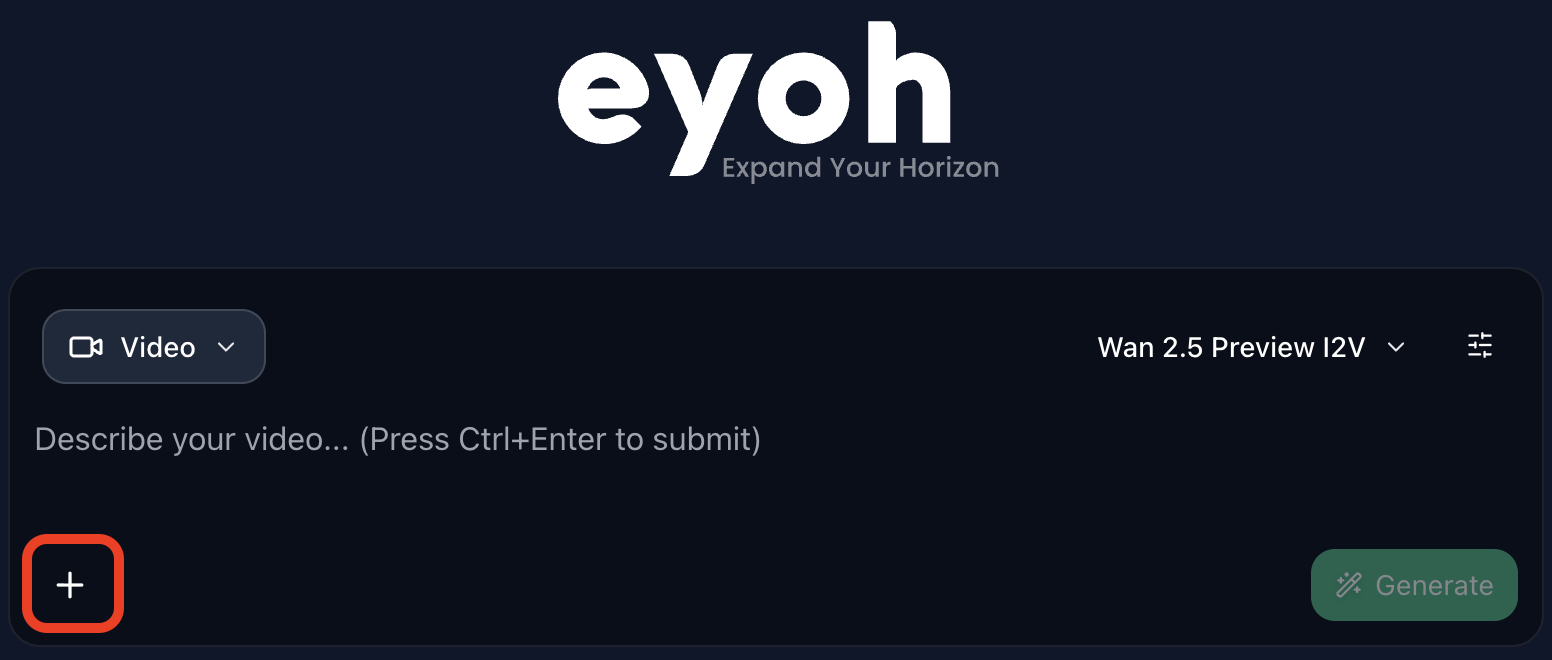
Upload Your Source Image
- Click the ➕ icon in the bottom-left corner of the prompt box, or
- Drag and drop your image directly into the prompt area.
Optional: Keyframes (Model Dependent)
Some advanced models allow precise motion control by uploading:
- First Frame
- Last Frame
Describe Only the Movement
Do not repeat the scene description. Focus only on how the image should move.
Example:
Slow camera pan to the right, subtle wind blowing through hair.
- Generate
Click Generate to see your image come alive.
